Welcome back to the "Web Application Programming" series. Let's use our new knowledge from the "The PicoLisp Database" and "Learning Pilog" series to add a database to the To-Do app example of the previous posts.
We will start with the "Desktop" version as "base" case that uses a lot of PicoLisp standard components. In the next post, we will do the same with the "responsive" version.
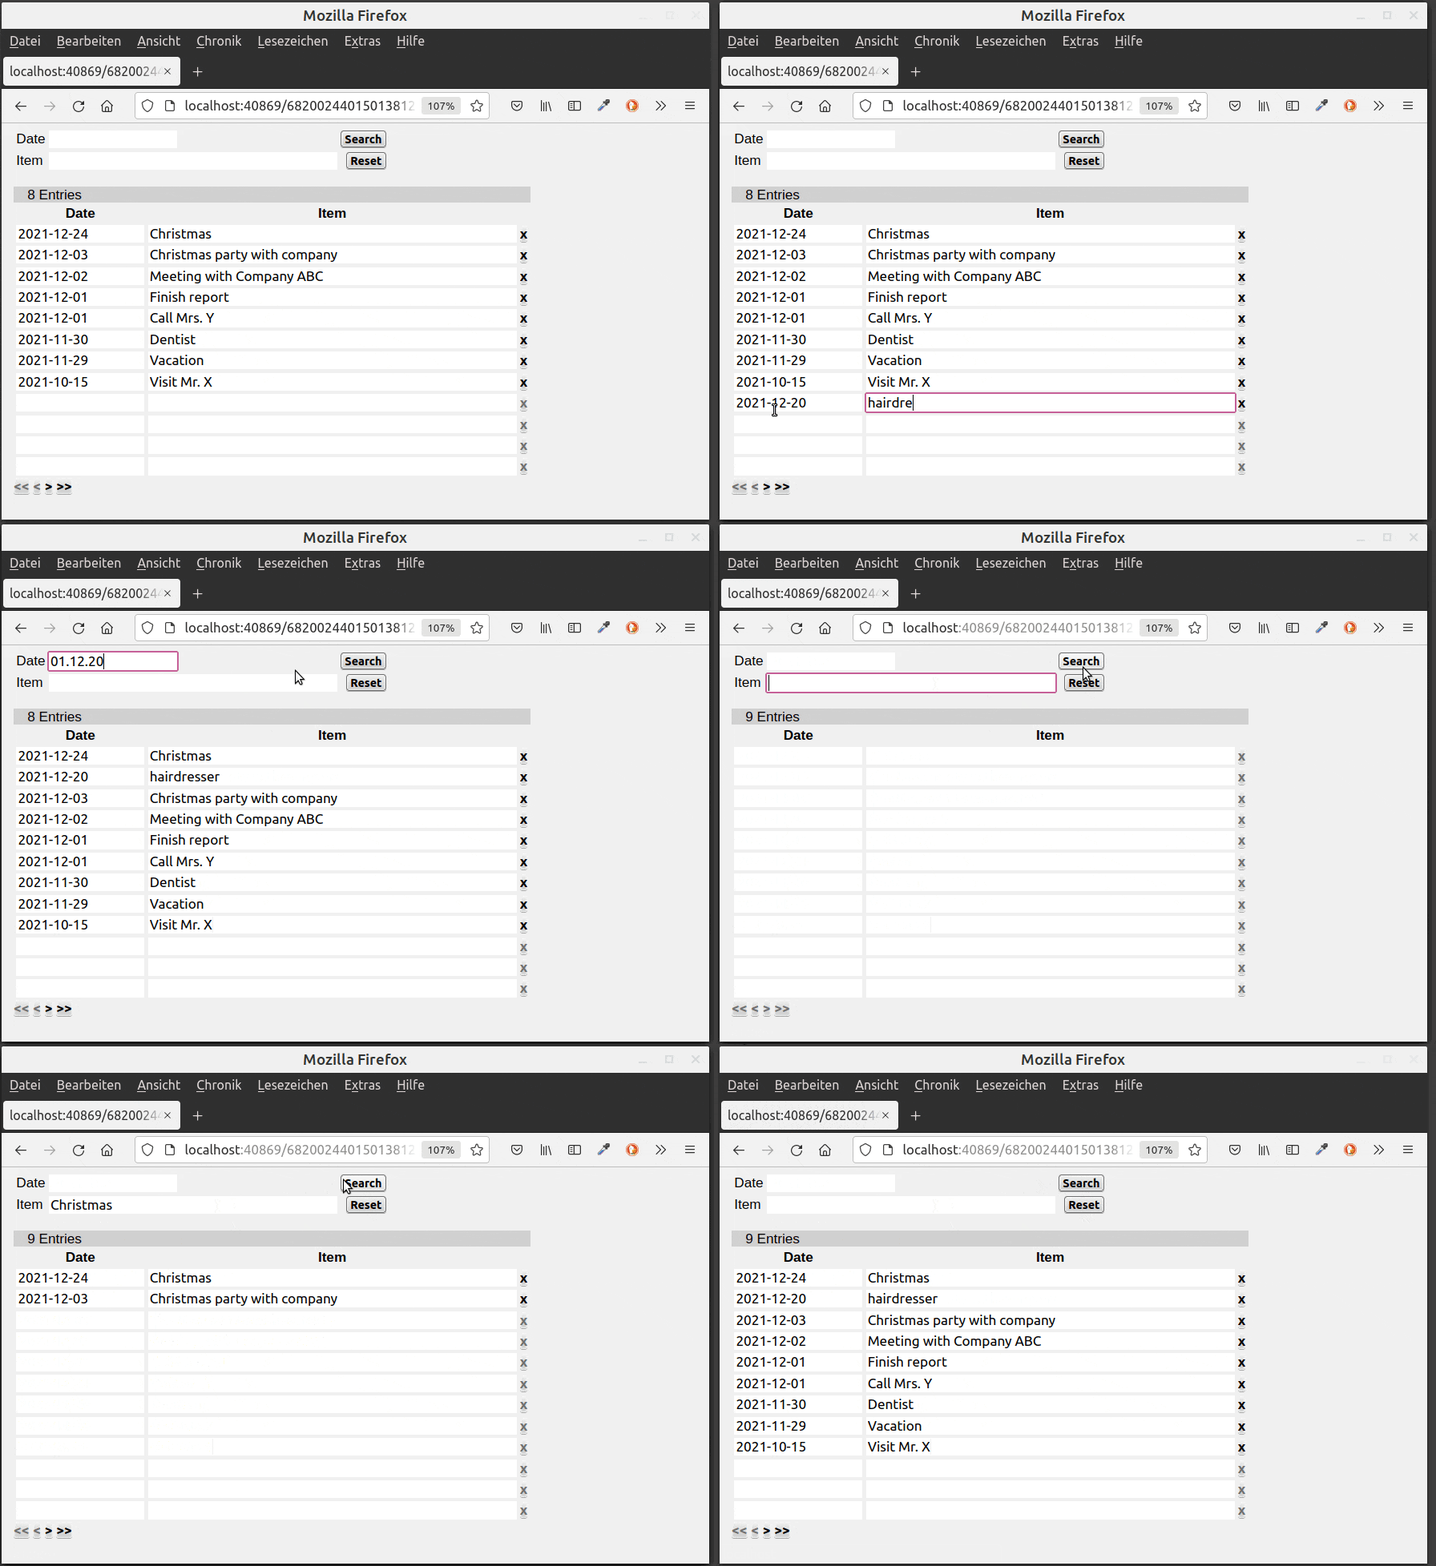
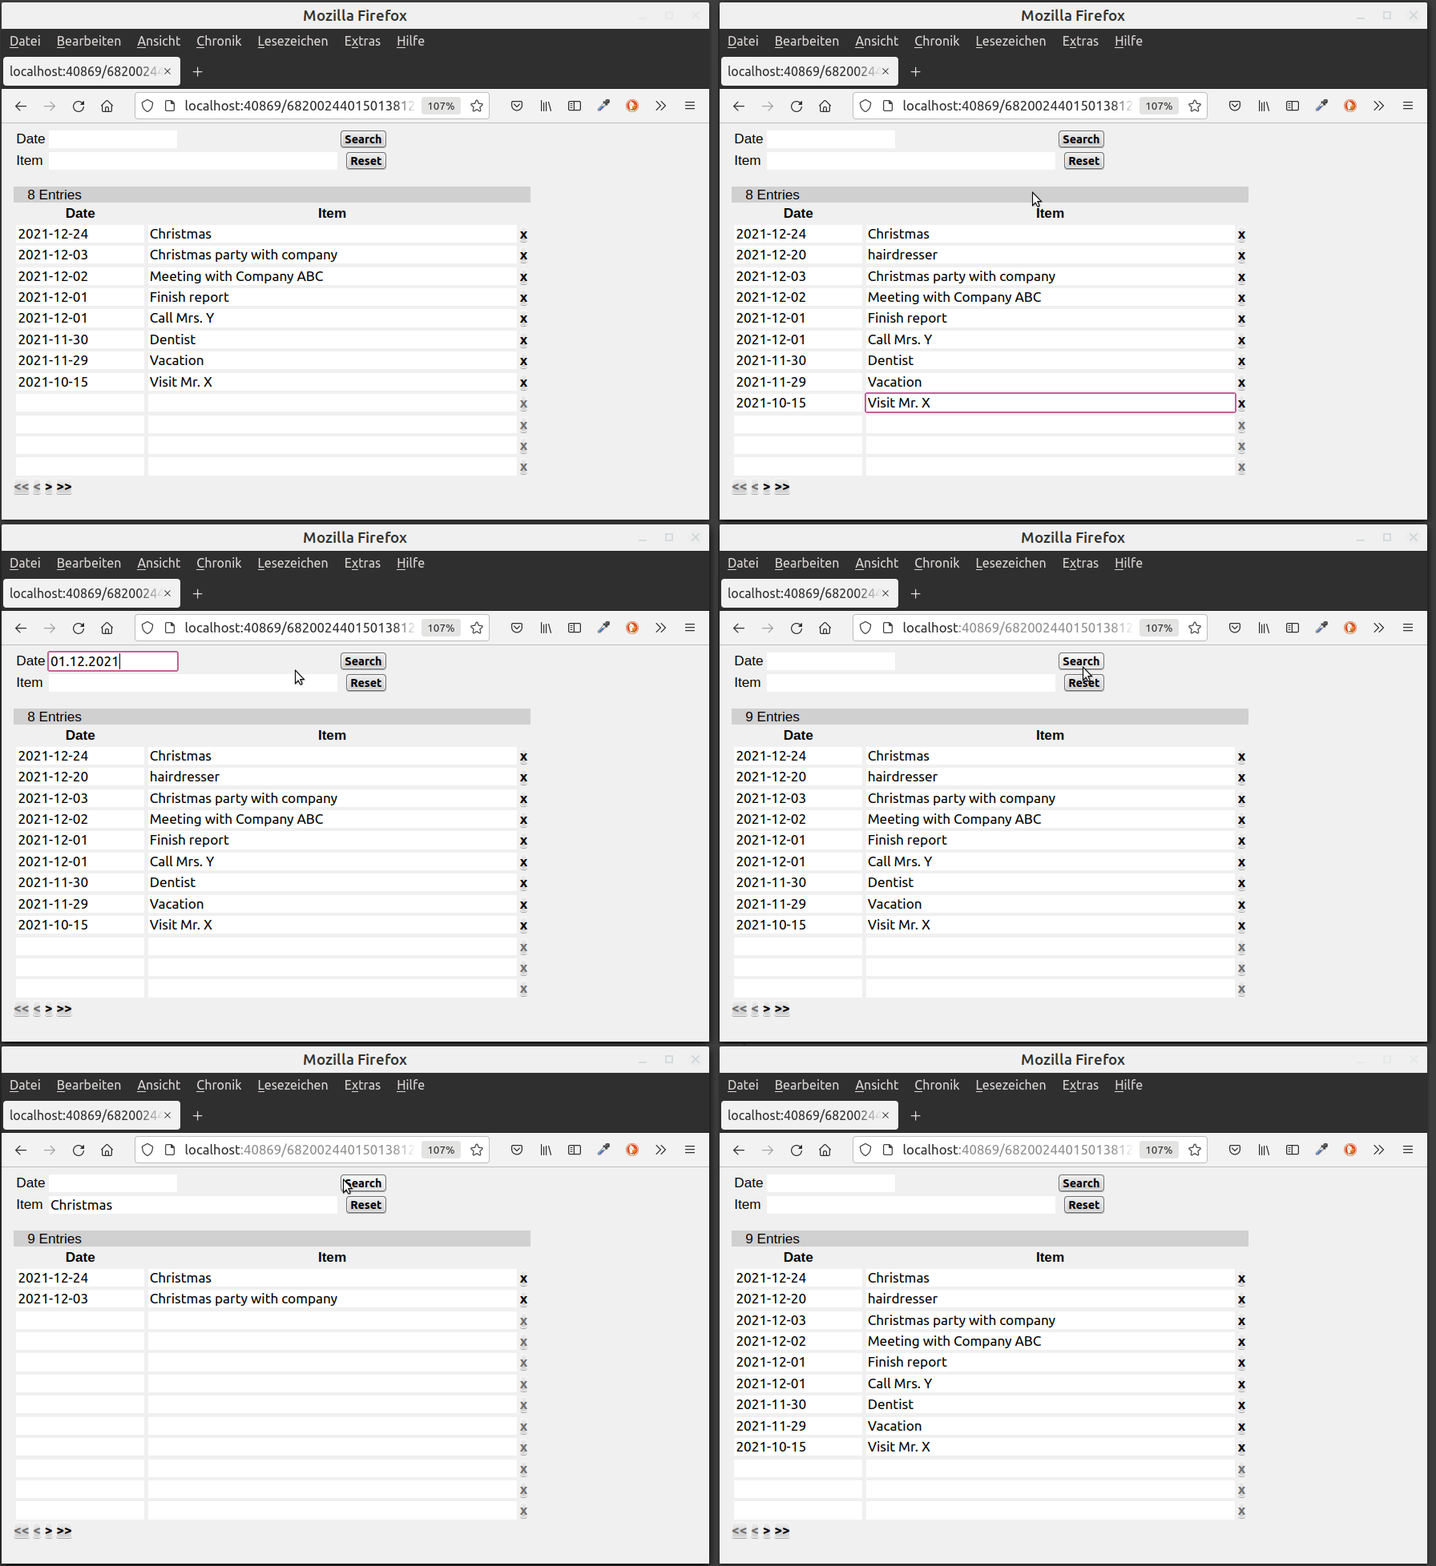
At the end of this post, it will look like this:

What do we need?
Until now we have started our program from the command line with $ pil @lib/http.l @lib/xhtml.l @lib/form.l --server 8080 +. However with the application getting more complex, it is easier to start the full program as a script.
In order to be able to do this, we need to add the following:
- the
(allowed)function to ensure that not any Lisp-script can be loaded from the server, - loading the libraries,
- a
(main)function that starts the database, - a
(go)function that starts the server, - and a function to be started, for example
(todoList).
The program is then started with $ pil <myprogram.l> -main -go +.
The setup is explained in detail in this tutorial.
Defining the E/R-model of the database
Now comes the database definition. It is very short:
(class +Todo +Entity)
(rel dat (+Ref +Date))                 # Date
(rel item (+IdxFold +String))          # Item
Our database contains objects of the class +Todo that takes two attributes: dat and item.
- The date is a non-unique index which is why we use the relationship class
+Ref. - The item description is a string which is non-unique either. We want to be able to search for substrings, this is why we use the relationship class
+IdxFold.
Displaying the data with the +QueryChart function
As already shown in the Database tutorial, the PicoLisp Web GUI offers an interface to the database via the +QueryChart function. The advantage is that we can update database items in the backend when we are editing them in the frontend.
Otherwise we might need to fetch all data everytime we want to redraw something on the front-end - for example, when we add an item to the list - which can be quite inefficient depending on the use case.
So, first of all, we should write our query. The query can take search parameters, for which we now create the input fields:
"Date" (gui 'dat '(+DateField) 10)
"Task" (gui 'item '(+DbHint +TextField) '(item +Todo) 30)
As the name suggests, +DbHint supplies autocomplete suggestions from the database.
Also, we define a "search" and a "reset button":
(searchButton '(init> (: home query)))
(resetButton '(dat item query)) )

As you can see, both buttons make changes to the GUI element query, which we will define now.
Defining the pilog query
As explained in the post "Handling complex database queries", the +QueryChart class takes a numeric argument for the number of objects to be returned (in this case: 12), and a pilog query which we can construct using the goal function.
First we store the values of our search field in the variables @Dat and Task.
(gui 'query '(+QueryChart) 12
    '(goal
      (quote
         @Dat (cons (or (val> (: home dat)) T))
         @Item (val> (: home item))
We select all items in the database where
@Datunifies with thedatattribute and@Itemunifies with theitemattribute of+Todo,@Datis earlier or exactly at the datedat@Itemis a substring ofitem.
(select (@@)
   ((dat +Todo @Dat) (item +Todo @Item))
   (range @Dat @@ dat)
   (part @Item @@ item) ) ) )
Next, we add the number of columns as parameter. In our example, we have three columns: date, Item and the delete button, so we add a 3 to the argument list.
Defining the put and get functions
As last arguments to our +QueryChart, we can optionally add a put and get function. put transforms the output data to a list of lists that can be processed by the table:
'((This) (list (: dat) (: item)))
The first column is the date, the second column is the item, and the third column is the delete button which doesn't need any input date (we could have written NIL as third list argument too).
Last, we also need to define a get function which takes care of changes within the output data - for example when the user is modifying a field. This function is executed at basically every interaction with the table.
This function gets two arguments: the list of values L, and the original object D (for "data").
'((L D)
   ...
Now we check if the object D already existed. In this case we just update its values using put!> and return D. For this purpose, we can use the function cond:
(cond ('any1 . prg1) ('any2 . prg2) ..) -> anyMulti-way conditional: Ifanyof theanyNconditions evaluates to non-NIL,prgNis executed and the result returned. Otherwise (all conditions evaluate toNIL),NILis returned.
'((L D)
   (cond
      (D
         (put!> D 'dat (car L))
         (put!> D 'item (cadr L))
         D )
Otherwise, we create a new object:
         ((car L)
            (new! '(+Todo) 'dat (car L)) ) ) ) )
Displaying the data
Now that we have the data in the correct format, we can draw the table:
(<table> NIL (choTtl "Entries" '+Todo)
   '((NIL "Date") (NIL "Item"))
   (do 12
      (<row> NIL
         (gui 1 '(+DateField) 10)
         (gui 2 '(+TextField) 40)
         (gui 3 '(+DelRowButton)
            '(lose!> (curr))
            '(text "Delete Item from @1?" (datStr (curr 'dat))) ) ) )
(scroll 12) ) ) ) )
With lose!>, we delete the relations of the current object (curr) (the real "deletion" is done by the database garbage collector).
The result
Now we have already defined our full todo-app with storing items in the database, search / filtering function and deleting. Thanks to the pre-defined layout of the <table> and <grid> functions, the code is extremely short and concise.

However, depending on the use case you might not be happy with the design. In the next post, we will add the database to the "Responsive" version of the Todo-app.
You can download the final version of this code here.

